FilaForms
Collecting Payments with Stripe Connect in FilaForms
Collecting Payments with Stripe Connect in FilaForms
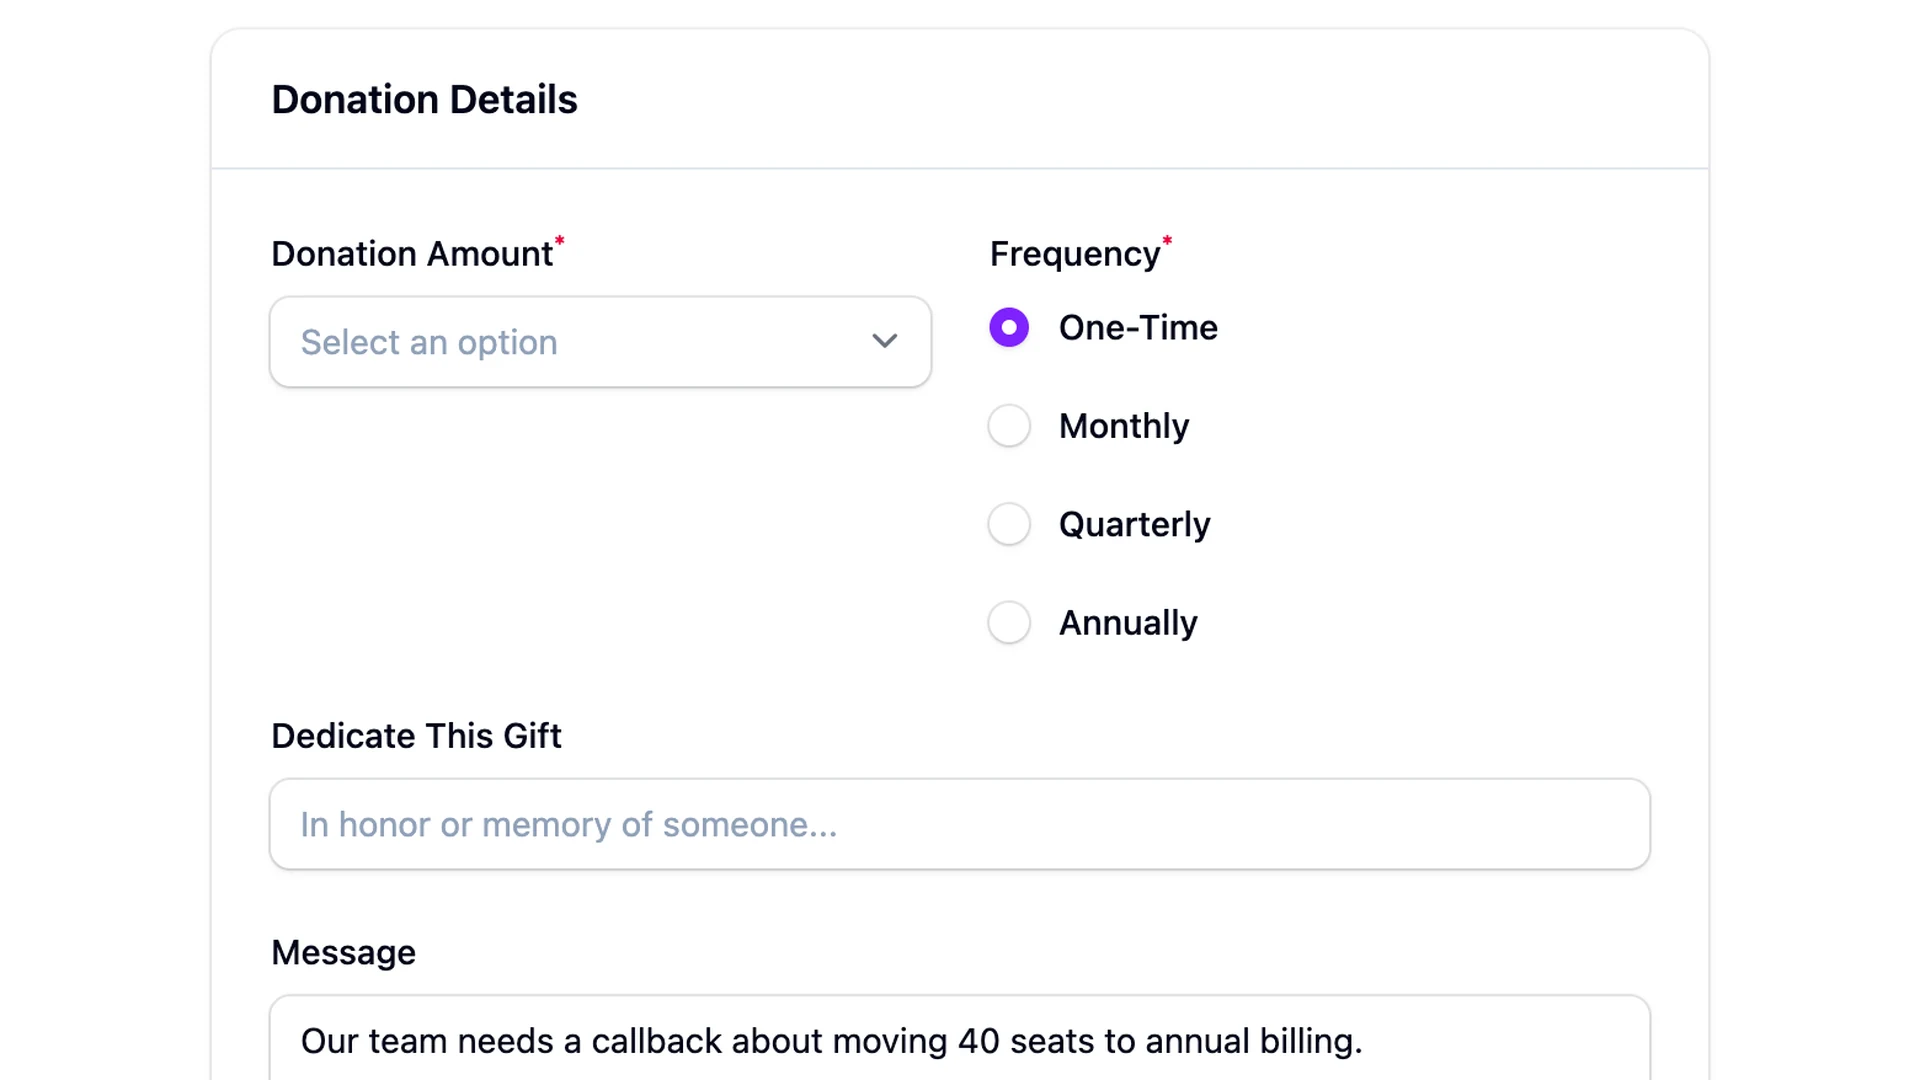
Sometimes a form needs to collect money, not just data. Registration fees, order payments, donation amounts. If you're running FilaForms on your own server, you probably don't want to bolt on a separate payment system and duct-tape it to your form submissions. Stripe Connect lets you handle the whole thing inside FilaForms, with payments going directly to your connected Stripe account.
I'll walk through the full setup: installing the integrations package, configuring Stripe, connecting your account, building a payment form, and handling webhooks. This assumes you already have a working FilaForms installation. If you're starting from scratch, the guide on adding public-facing forms to your Filament app covers the basics.
How the Payment Flow Works
Before jumping into configuration, here's what actually happens when someone submits a payment form:
- You (the form owner) connect your Stripe account on the Integrations page
- A respondent fills out your form and hits submit
- FilaForms creates a Stripe Checkout session on your connected account
- The respondent lands on Stripe's hosted checkout page to pay with card, Apple Pay, or Google Pay
- Stripe fires a webhook back to your server confirming whether the payment succeeded or failed
- FilaForms marks the submission as paid (or not)
The key detail: your platform never holds the funds. Money goes straight to the connected Stripe account. FilaForms can collect a configurable application fee (default 2%) automatically, but the platform itself is never in the flow of funds. This is the whole point of Stripe Connect's Standard account model.
Prerequisites
You need:
- A working FilaForms installation (PHP 8.1+, Laravel 10+, Filament 3.x)
- A Stripe account with Connect enabled (Settings > Connect > Standard accounts at stripe.com)
- SSL on your domain (Stripe requires HTTPS for webhooks)
- Composer access to the FilaForms integrations package
Install the Integrations Package
The payment features live in a separate package. Pull it in with Composer:
composer require filaforms/integrations
This adds the Stripe connection UI, webhook routes, and checkout session handling to your FilaForms installation.
Configure Environment Variables
Add these to your .env file:
FILAFORMS_STRIPE_SECRET_KEY=sk_test_...
FILAFORMS_STRIPE_PUBLISHABLE_KEY=pk_test_...
FILAFORMS_STRIPE_WEBHOOK_SECRET=whsec_...
FILAFORMS_STRIPE_FEE_PERCENT=2
FILAFORMS_STRIPE_CURRENCY=USD
A few notes on these:
- Use test keys (
sk_test_,pk_test_) while setting things up. Switch to live keys when you're ready for real payments. FILAFORMS_STRIPE_FEE_PERCENTcontrols the application fee. Set it to0if you don't want to take a cut.FILAFORMS_STRIPE_CURRENCYdefaults to USD. FilaForms supports 24 currencies, so set this to whatever fits your use case.- The webhook secret (
whsec_...) comes from the next step.
Register the Webhook Endpoint
In your Stripe dashboard, go to Developers > Webhooks and add a new endpoint:
URL: https://your-domain.com/filaforms/webhooks/stripe
Subscribe to these events:
checkout.session.completedcheckout.session.expiredpayment_intent.succeededpayment_intent.payment_failed
Stripe will give you a signing secret (whsec_...). Copy that into your .env as FILAFORMS_STRIPE_WEBHOOK_SECRET.
FilaForms maps these events internally:
| Stripe Event | FilaForms Status |
|---|---|
checkout.session.completed |
PAYMENT_SUCCEEDED |
checkout.session.expired |
PAYMENT_FAILED |
payment_intent.succeeded |
PAYMENT_SUCCEEDED |
payment_intent.payment_failed |
PAYMENT_FAILED |
Every incoming webhook is verified using HMAC-SHA256 signature checking. If the signature doesn't match, the request gets rejected. No guessing, no trust-on-first-use.
Connect Your Stripe Account
With the package installed and environment configured:
- Go to the Integrations page in your FilaForms admin panel
- Click Create Stripe connection
- You'll be redirected to Stripe's OAuth onboarding flow
- Complete the Stripe onboarding (or skip details if using a test account)
- Stripe redirects you back to FilaForms
Behind the scenes, this hits POST /filaforms/connections/stripe/connect/{connection} to initiate the flow, and GET /filaforms/connections/stripe/callback handles the return. Your connected account is now stored and ready to use.
Each connected account is isolated. The platform never touches the funds directly. Authorization checks ensure only the account owner can manage their connection.
Create a Payment Form
Now for the actual form. Open any form in FilaForms (or create a new one) and go to its integration settings:
- Click Add Stripe in the integration settings
- Select the connected account you just set up
- Choose a currency
- Enable the integration
That's it on the form side. When a respondent submits this form, they'll be redirected to Stripe Checkout to complete payment. After paying, the webhook fires, and the submission gets marked as paid in your FilaForms dashboard.
You can add whatever fields you need alongside the payment. Name, email, order details, file uploads. The payment is tied to the submission, so you get the form data and payment confirmation in one place.
Testing the Integration
Before going live:
- Make sure you're using Stripe test keys in your
.env - Submit the form as a respondent
- On the Stripe Checkout page, use card number
4242 4242 4242 4242with any future expiry and any CVC - Check your FilaForms submissions. The entry should show as paid
- Check your Stripe dashboard. You should see the test payment under the connected account
To test failure cases, use 4000 0000 0000 0002 (card declined). The webhook should fire payment_intent.payment_failed, and the submission should reflect that.
Also verify your webhook endpoint is receiving events. Stripe's dashboard shows webhook delivery attempts with response codes. If you're seeing 500s, check your FILAFORMS_STRIPE_WEBHOOK_SECRET matches what Stripe generated.
Security Notes
A few things worth knowing about how FilaForms handles the security side:
Webhook verification uses HMAC-SHA256. Every incoming request from Stripe is checked against your webhook secret. Invalid signatures are dropped.
Connected account isolation means the platform (your FilaForms installation) never holds payment funds. Stripe sends money directly to the connected account. This reduces your PCI scope and liability significantly.
Authorization checks run on all connection management routes. Only the account owner who created the Stripe connection can modify or disconnect it.
When I wrote about the architecture decisions behind FilaForms, keeping integrations modular was one of the goals. The Stripe integration follows that same pattern: it's a separate package, it uses Stripe's hosted checkout (so you never handle raw card data), and it communicates through webhooks rather than polling.
Going Live
When you're ready for real payments:
- Switch your
.envkeys fromsk_test_/pk_test_to your live Stripe keys - Create a new webhook endpoint in Stripe for your live environment (same URL, same events)
- Update
FILAFORMS_STRIPE_WEBHOOK_SECRETwith the new live signing secret - Clear your config cache:
php artisan config:clear
That's the whole integration. If you're collecting payments through forms on a Laravel app, this keeps everything in one system instead of juggling external tools.
FilaForms is available at filaforms.app if you want to try it out.